
How to Design Print-Ready Files for Perfect Printing Results
One of the most common reasons printing projects get delayed or turn out poorly is incorrect file preparation. Many businesses assume that once a design is ready on screen, it is automatically ready for printing, but that is not true.
Print-ready files follow specific technical standards to ensure the final printed product looks sharp, accurate, and professional. Whether you are printing Business Cards, Flyers, Brochures, or Banner in Seattle, understanding how to prepare your files correctly can save time, money, and frustration.
Zebra Printing helps businesses and individuals across Seattle and Bellevue ensure their files are properly prepared for flawless printing results, reducing errors and improving turnaround speed.
What Is a Print-Ready File?
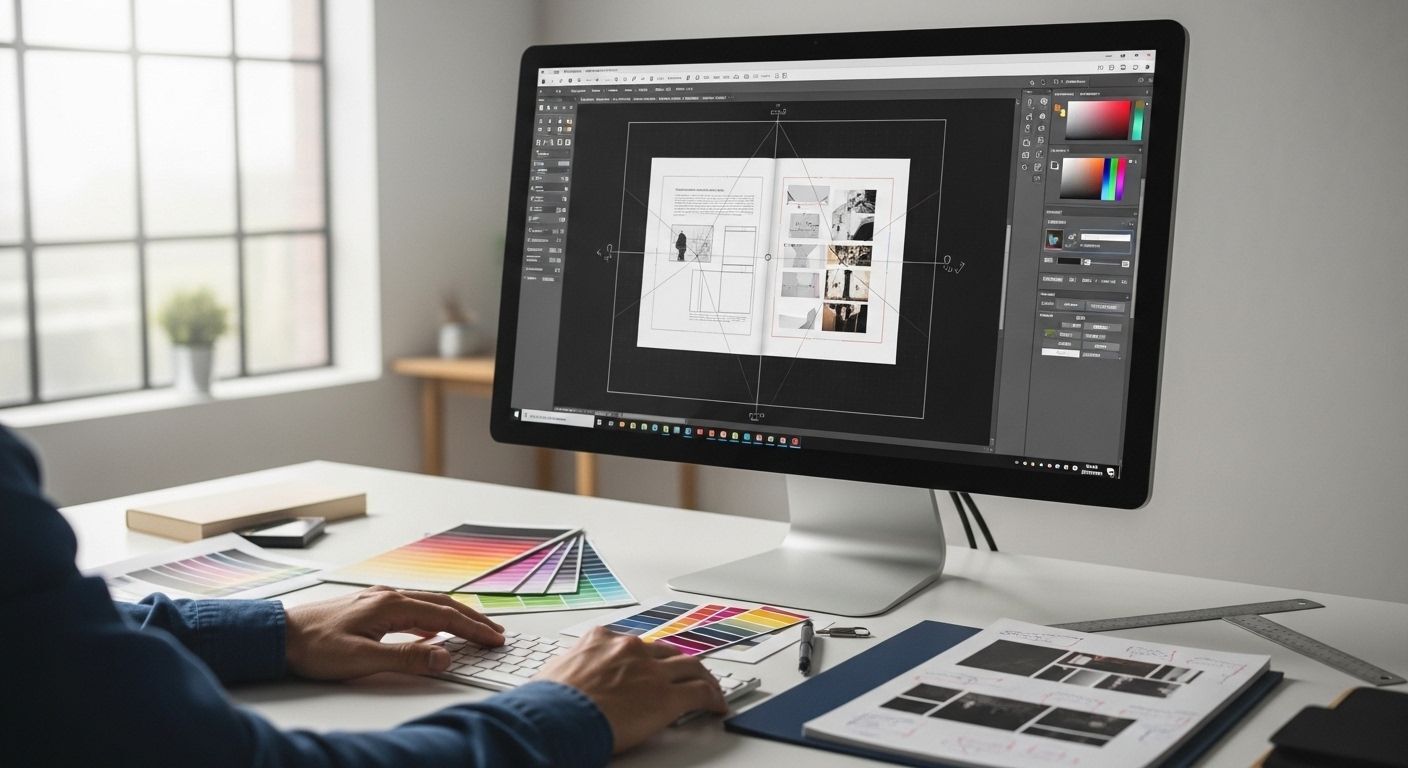
A print-ready file is a digital design file that meets all technical requirements needed for professional printing without requiring additional editing.
This means the file is correctly formatted in terms of:
- Color mode
- Resolution
- Size
- Bleed
- File type
When a file is print-ready, it can go directly into production, which speeds up the entire printing process.
Zebra Printing ensures that every print-ready file is reviewed before production, helping customers avoid costly mistakes.
Why Print-Ready Files Are Important
Improper file setup can lead to several problems such as color mismatches, blurry images, and incorrect cropping.
For example, a design created in RGB color mode may look vibrant on a screen but print incorrectly with dull or inaccurate colors. Similarly, low-resolution images may appear fine digitally but become pixelated when printed.
Print-ready files eliminate these issues by ensuring everything is optimized for physical printing.
This is especially important for businesses that rely on printed materials for branding and marketing.
Essential Requirements for Print-Ready Files
To ensure perfect printing results, every file should meet the following standards:
1. CMYK Color Mode
All print files should be created in CMYK (Cyan, Magenta, Yellow, Black) instead of RGB. CMYK is the standard color model used in printing and ensures accurate color reproduction.
2. High Resolution (300 DPI)
Resolution is one of the most critical factors in print quality. Files should be set to at least 300 DPI (dots per inch) to ensure sharp and clear output.
Lower resolution images may appear blurry or pixelated when printed.
3. Correct Size and Dimensions
Always design your file in the exact size required for printing. For example, if you are printing a standard business card, the file should match that exact dimension.
Incorrect sizing can result in cropping or scaling issues.
4. Bleed Area (0.125 inches)
Bleed is the extra space added around your design to ensure there are no white edges after trimming.
Without bleed, small cutting variations can affect the final look of your printed material.
5. Safe Margin
Keep important text and elements away from the edges of your design. This ensures nothing important gets cut off during trimming.
6. File Format (PDF Preferred)
The best file format for printing is PDF because it preserves layout, fonts, and image quality.
Other formats like PNG or JPEG may work for simple designs but are not always reliable for professional printing.
Common Mistakes in Print File Preparation
Many printing issues come from simple but avoidable mistakes.
One common mistake is using RGB instead of CMYK, which results in color shifts during printing.
Another issue is using low-resolution images copied from the web, which leads to poor print quality.
Ignoring bleed and margins can also cause unwanted white borders or cut-off text.
Zebra Printing frequently helps customers correct these issues before printing to ensure perfect results.
How to Convert Your Design into Print-Ready Format
If you are using design software like Adobe Illustrator, Photoshop, or Canva, you can easily convert your design into a print-ready file.
First, ensure your document is set to CMYK color mode. Next, check that all images are high resolution and properly placed within safe margins.
Finally, export your file as a high-quality PDF with bleed settings enabled.
If you are unsure about any of these steps, Zebra Printing offers file assistance to help customers prepare their designs correctly.
Why Print-Ready Files Matter for Businesses
For businesses in Seattle, printed materials are often the first impression customers receive. Poor print quality can negatively impact brand perception.
On the other hand, well-prepared print files ensure:
- Sharp and professional visuals
- Consistent branding
- Faster production times
- Fewer errors and reprints
This directly affects marketing effectiveness and business credibility.
Print-Ready Files for Different Products
Different print products may require slightly different file setups.
Business Cards
Require precise sizing, bleed, and clean typography.
Flyers and Brochures
Need proper image resolution and clear layout structure.
Banners
Must be designed at larger scale with high-resolution graphics to ensure visibility from a distance.
Zebra Printing helps ensure all file types are properly optimized before production.
Why Choose Zebra Printing for File Setup Support?
Not everyone is a design expert, and that’s completely fine. That is why Zebra Printing provides file checking and guidance for customers in Seattle and Bellevue.
Their team reviews files before printing to ensure everything meets professional standards. This helps prevent delays, reduces errors, and guarantees high-quality output.
Zebra Printing also assists customers in correcting issues such as color mode errors, resolution problems, and missing bleed settings.
This level of support makes them a trusted printing partner for both beginners and professionals.
Conclusion
Creating print-ready files is one of the most important steps in achieving high-quality printing results. Proper file preparation ensures accurate colors, sharp images, and professional output.
By following best practices such as using CMYK color mode, 300 DPI resolution, proper bleed, and PDF format, you can avoid common printing issues.
For businesses in Seattle and Bellevue, working with a reliable provider like Zebra Printing ensures your files are handled correctly and your final prints meet the highest standards.